So, you're here because you want to dive deep into the world of clay farming in Minecraft, right? Let's be real—clay is one of those underrated resources that players often overlook. But trust me, once you get into it, clay farming can be a game-changer for your builds, trading, and even survival strategies. In this article, we’re going to break down everything you need to know about clay farming in Minecraft, from where to find it, how to farm it efficiently, and why it matters for your gameplay. If you're serious about taking your Minecraft skills to the next level, this is the guide you've been looking for. Let's get started!
Clay farming isn't just about gathering resources; it's about efficiency and strategy. Whether you're building a massive village, crafting those fancy bricks, or just trying to keep your inventory stocked, understanding how clay works in Minecraft is crucial. This guide isn’t just for beginners either—veteran players can also benefit from some advanced tips and tricks we’ve got lined up for you. Think of this as your ultimate cheat sheet for all things clay-related.
One thing I want to emphasize before we dive deeper is that clay farming isn’t as simple as just digging up blocks. There’s a lot more to it than meets the eye, from finding the right biome to setting up automated systems. By the end of this article, you’ll have all the tools and knowledge you need to become a clay farming pro. Now, without further ado, let’s jump into the nitty-gritty details!
Read also:Condom Calculator Your Ultimate Guide To Finding The Perfect Fit
Why Clay Farming Matters in Minecraft
Clay is more than just a building block. It plays a critical role in crafting, trading, and even survival. Did you know that clay can be smelted into bricks, which are essential for building structures like furnaces and blast furnaces? Not to mention, clay balls are used in crafting sugar for brewing potions. So, if you’re thinking clay is just for aesthetic purposes, think again. It’s a versatile resource that every Minecraft player should take seriously.
One of the biggest reasons clay farming matters is efficiency. Instead of wandering around hoping to stumble upon a clay patch, setting up a dedicated farm ensures you always have a steady supply. This is especially important for players who focus on large-scale builds or those who trade frequently with villagers. Plus, let’s not forget the satisfaction of building an automated system that works like clockwork. Who doesn’t love watching their hard work pay off?
Where to Find Clay in Minecraft
Finding clay in Minecraft isn’t as hard as you might think, but knowing where to look makes all the difference. Clay is most commonly found in river biomes, swamp biomes, and near bodies of water. Look for those light gray blocks sticking out near the surface—they’re usually easy to spot once you know what you’re looking for. Pro tip: bring a shovel! Mining clay with a shovel is faster and more efficient than using your hands or other tools.
Another great place to find clay is in ocean biomes, particularly around underwater ruins or shipwrecks. These areas often have clay patches scattered around, making them perfect spots for quick harvesting. Just be careful of guardians and other underwater threats. If you’re feeling adventurous, you can also explore ravines and caves, as clay sometimes spawns in these locations as well.
Best Biomes for Clay Farming
Not all biomes are created equal when it comes to clay farming. Here’s a quick breakdown of the best biomes to focus on:
- River Biome: Rivers are one of the richest sources of clay in Minecraft. They’re easy to find and offer plenty of opportunities for efficient farming.
- Swamp Biome: Swamps are another great option, especially if you’re looking for a more challenging farming experience. Just watch out for slimes!
- Ocean Biome: While not as common as rivers and swamps, ocean biomes can still yield decent amounts of clay, especially near underwater structures.
Remember, the key to successful clay farming is consistency. Choose a biome that works best for your playstyle and stick with it. You’ll be rewarded with a steady supply of clay in no time.
Read also:Jackerman News The Inside Scoop On The Latest Buzz In Entertainment And Beyond
Setting Up Your First Clay Farm
Now that you know where to find clay, it’s time to set up your first farm. The process is pretty straightforward, but there are a few things to keep in mind. First, you’ll need to gather some basic materials: a shovel, buckets of water, and a few wooden planks for scaffolding. Once you’ve got everything you need, follow these steps:
- Find a clay patch in your chosen biome.
- Use your shovel to mine the clay blocks and collect clay balls.
- Set up a small water channel to redirect the clay balls toward a collection point.
- Build a platform around the clay patch to make mining easier and faster.
Automating your clay farm is where things get really interesting. By setting up pistons and redstone circuits, you can create a system that collects clay balls for you while you focus on other tasks. Trust me, once you see how much time and effort this saves, you’ll never go back to manual farming.
Tools and Equipment for Efficient Clay Farming
Having the right tools makes all the difference when it comes to clay farming. Here’s a list of must-haves:
- Shovel: A basic wooden or stone shovel will do the trick, but an iron or diamond shovel will make mining faster.
- Water Buckets: Essential for setting up water channels and redirecting clay balls.
- Redstone: If you’re planning to automate your farm, redstone is a must-have.
- Pistons: Used to push clay blocks into water channels or collection points.
Investing in quality tools may cost a few resources upfront, but it will save you time and effort in the long run. Plus, there’s something satisfying about using high-quality gear to get the job done.
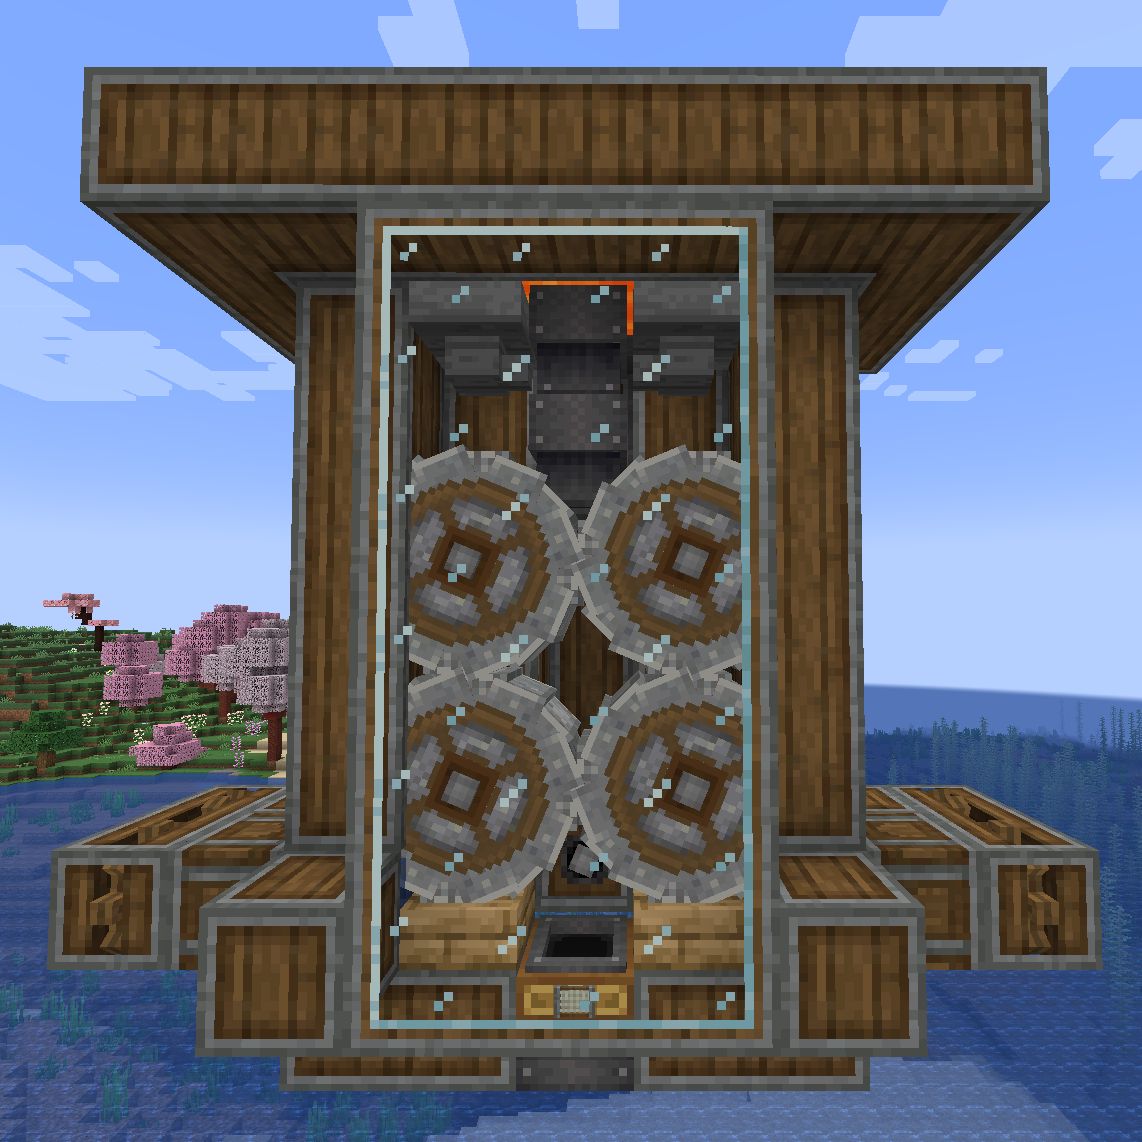
The Benefits of Automated Clay Farms
Automation is the future of clay farming in Minecraft. Not only does it save time, but it also increases efficiency and reduces the risk of accidents (like falling into water or getting attacked by mobs). Setting up an automated clay farm may seem daunting at first, but with a little patience and practice, you’ll have a system that runs like a well-oiled machine.
Here’s how it works: by using redstone circuits, pistons, and water channels, you can create a farm that collects clay balls for you automatically. This means you can focus on other aspects of your gameplay while your farm does the heavy lifting. Plus, automated farms tend to yield more clay than manual farming, making them a no-brainer for serious players.
Building an Automated Clay Farm: Step-by-Step
Ready to build your own automated clay farm? Follow these steps:
- Locate a large clay patch in your chosen biome.
- Set up a water channel around the perimeter of the patch.
- Place pistons along the edges of the patch to push clay blocks into the water.
- Use redstone to power the pistons and create a timer system for optimal efficiency.
- Set up a collection point at the end of the water channel to gather clay balls.
Once your farm is up and running, you’ll be amazed at how much clay you can collect in a short amount of time. It’s like having your own personal clay-gathering army!
Using Clay in Minecraft: Crafting and Building
Now that you’ve got a steady supply of clay, it’s time to put it to good use. Clay has a wide range of applications in Minecraft, from crafting to building to trading. Here are just a few examples:
- Bricks: Smelt clay balls in a furnace to create bricks, which can be used to build structures, furnaces, and more.
- Clay Blocks: Use clay balls to craft clay blocks, which are great for decorative purposes or filling in large areas.
- Trading: Clay balls are valuable trading items, especially with librarian villagers who offer enchanted books in exchange.
The possibilities are endless when it comes to using clay in Minecraft. Whether you’re building a grand castle or trading for rare items, clay is an essential resource that every player should take advantage of.
Clay Farm Minecraft: Common Mistakes to Avoid
Even the best farmers make mistakes from time to time. Here are a few common pitfalls to watch out for when setting up your clay farm:
- Overcomplicating Your Design: Keep things simple, especially if you’re new to automation. Start with a basic setup and build from there.
- Ignoring Maintenance: Regularly check your farm for clogs or other issues that could disrupt its efficiency.
- Underestimating the Power of Redstone: Redstone is your best friend when it comes to automation. Don’t be afraid to experiment with different circuits and designs.
By avoiding these common mistakes, you’ll be able to create a clay farm that runs smoothly and efficiently, giving you more time to focus on the fun parts of Minecraft.
Clay Farm Minecraft: Advanced Tips and Tricks
Ready to take your clay farming to the next level? Here are a few advanced tips and tricks to help you maximize your output:
- Multi-Level Farms: Build multiple layers of clay patches to increase your yield without taking up too much space.
- Redstone Optimization: Fine-tune your redstone circuits to ensure they’re running as efficiently as possible.
- Use Hoppers: Hoppers are great for automatically collecting clay balls and transporting them to a central storage area.
These advanced techniques may require a bit more effort upfront, but they’ll pay off in the long run. Plus, there’s something incredibly satisfying about mastering the art of clay farming in Minecraft.
Clay Farm Minecraft: Troubleshooting Common Issues
Even the best-designed farms can run into issues from time to time. Here’s how to troubleshoot some common problems:
- Clogs in Water Channels: Check for obstructions and clear them out as needed.
- Redstone Malfunctions: Double-check your circuitry and make sure all components are properly connected.
- Piston Failures: Ensure your pistons are powered correctly and that there’s enough space for them to extend.
By addressing these issues promptly, you’ll keep your clay farm running smoothly and efficiently. Remember, prevention is key—regular maintenance can save you a lot of headaches down the line.
Conclusion: Why Clay Farm Minecraft is Worth Your Time
So, there you have it—everything you need to know about clay farming in Minecraft. From finding clay to setting up automated farms, this guide has covered all the bases. Clay farming may not be the most glamorous aspect of Minecraft, but it’s definitely one of the most rewarding. By mastering the art of clay farming, you’ll unlock a world of possibilities for your builds, trades, and overall gameplay.
Now it’s your turn to take what you’ve learned and put it into practice. Whether you’re building your first clay farm or upgrading an existing one, remember to keep things simple, efficient, and fun. And don’t forget to share your experiences with the Minecraft community—there’s always something new to learn and discover. So, get out there and start farming some clay!
Table of Contents
- Why Clay Farming Matters in Minecraft
- Where to Find Clay in Minecraft
- Setting Up Your First Clay Farm
- The Benefits of Automated Clay Farms
- Using Clay in Minecraft: Crafting and Building
- Clay Farm Minecraft: Common Mistakes to Avoid
- Clay Farm Minecraft: Advanced Tips and Tricks
- Clay Farm Minecraft: Troubleshooting Common Issues
- Conclusion: Why Clay Farm Minecraft is Worth Your Time