Ever wondered how you can remotely control IoT devices behind a router using just a Raspberry Pi? Well, buckle up because we're diving deep into the world of remote IoT setups. In this article, we’ll explore everything you need to know about setting up your Raspberry Pi to control IoT devices securely from anywhere in the world.
Remote IoT management is no longer a futuristic concept reserved for tech wizards. With Raspberry Pi, you can turn your home into a smart hub without breaking the bank. This tiny yet powerful device has become a favorite among hobbyists and professionals alike, and for good reason. It’s affordable, versatile, and easy to set up once you know the ropes.
Whether you’re controlling smart lights, monitoring security cameras, or automating your garden irrigation system, Raspberry Pi makes remote IoT management accessible to everyone. So, let’s get started and unlock the potential of your devices hidden behind your router!
Read also:7ster Hdcom Your Ultimate Destination For Highquality Streaming
Table of Contents
- What is RemoteIoT Behind Router?
- Raspberry Pi Basics: A Quick Overview
- Setting Up Your Raspberry Pi for RemoteIoT
- Configuring Your Network for Remote Access
- Securing Your RemoteIoT Setup
- Tools and Software You Need
- Common Issues and Troubleshooting
- Real-World Applications of RemoteIoT
- Best Practices for Managing IoT Devices
- Conclusion: Take Control of Your IoT Devices
What is RemoteIoT Behind Router?
Let’s break it down. RemoteIoT behind router refers to the process of accessing and controlling Internet of Things (IoT) devices located on a private network from outside that network. This is particularly useful if you want to manage your smart home devices while you're at work or on vacation. The router acts as a gateway, and with the right setup, you can bypass its limitations and gain remote access.
Now, why would you want to do this? Imagine being able to adjust your thermostat, check your home security cameras, or even water your plants from anywhere in the world. Sounds cool, right? But hold on, there’s a catch. Security is paramount when it comes to remote access, and that’s where Raspberry Pi comes in.
Why Use Raspberry Pi for RemoteIoT?
Raspberry Pi offers a cost-effective and flexible solution for managing IoT devices remotely. Unlike expensive dedicated servers, Raspberry Pi is compact, energy-efficient, and can be configured to act as a secure bridge between your IoT devices and the outside world.
Here’s a quick rundown of why Raspberry Pi is the go-to choice for remote IoT setups:
- Affordable and easy to set up
- Highly customizable with a wide range of software options
- Low power consumption, perfect for always-on applications
- Active community support for troubleshooting and updates
Raspberry Pi Basics: A Quick Overview
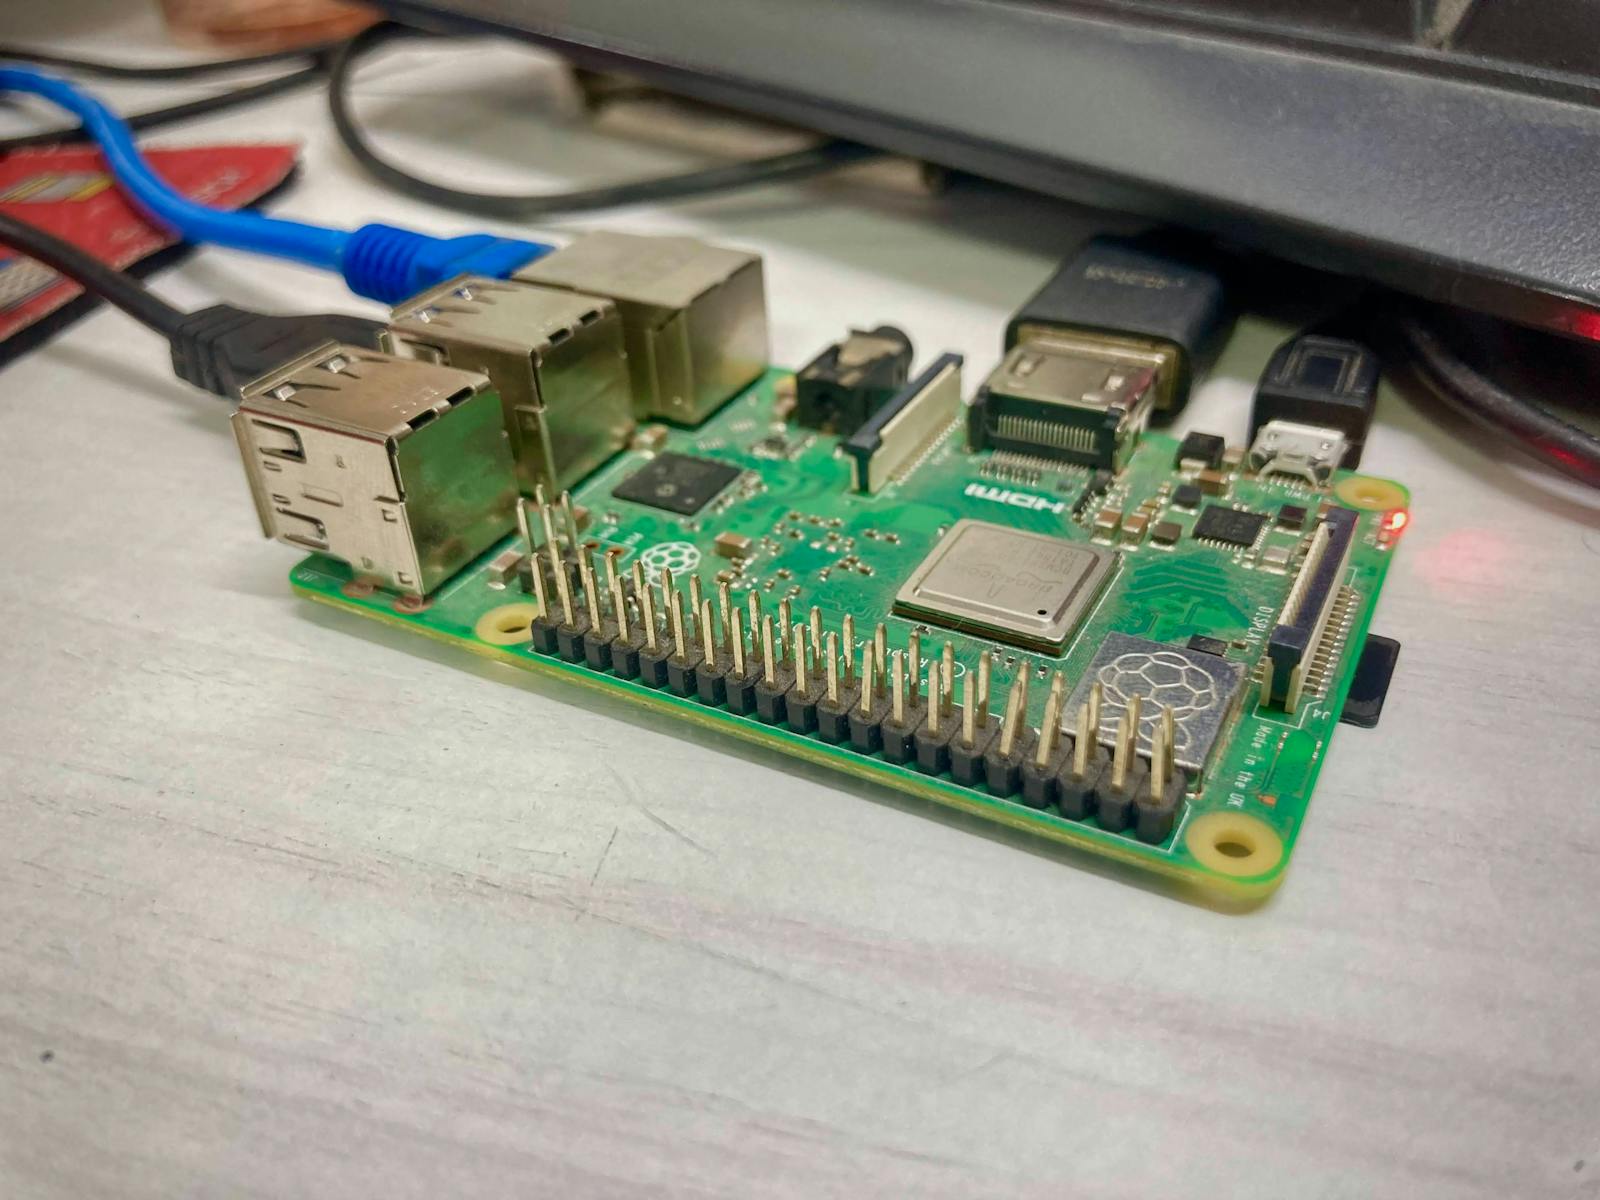
Before we dive into the nitty-gritty of setting up your Raspberry Pi for remote IoT, let’s take a moment to understand what makes this little device so special. The Raspberry Pi is a single-board computer that’s been around since 2012. Despite its small size, it packs a punch with features like GPIO pins, USB ports, Ethernet, and Wi-Fi capabilities.
There are several models available, each with its own strengths. For remote IoT setups, the Raspberry Pi 4 Model B is often recommended due to its faster processing power and improved connectivity options. But don’t let that stop you if you have an older model lying around. With a bit of tweaking, you can still make it work.
Read also:Clix Haircut 2025 The Ultimate Guide To The Trendiest Hairstyles Of The Year
Key Features of Raspberry Pi
Here are some of the standout features that make Raspberry Pi ideal for remote IoT projects:
- GPIO Pins: These allow you to connect and control external hardware devices.
- Networking: Both wired and wireless connectivity options ensure reliable communication.
- Open-Source Software: A wide range of operating systems and tools are available, giving you the flexibility to choose what works best for your project.
Setting Up Your Raspberry Pi for RemoteIoT
Alright, let’s get our hands dirty. Setting up your Raspberry Pi for remote IoT involves a few key steps. First, you’ll need to install an operating system on your Pi. Raspberry Pi OS is a great choice for beginners, but if you’re feeling adventurous, you can explore other options like Ubuntu or DietPi.
Once your OS is up and running, it’s time to configure your network settings. This includes assigning a static IP address to your Raspberry Pi and ensuring it can communicate with your IoT devices. Don’t worry if this sounds complicated; we’ll walk you through it step by step.
Step-by-Step Guide
Here’s a quick guide to help you set up your Raspberry Pi:
- Step 1: Download and install Raspberry Pi Imager on your computer.
- Step 2: Use the Imager to flash the Raspberry Pi OS onto an SD card.
- Step 3: Insert the SD card into your Raspberry Pi and power it on.
- Step 4: Connect to your Wi-Fi network or use an Ethernet cable for a wired connection.
- Step 5: Update your Pi’s software using the terminal command
sudo apt update && sudo apt upgrade.
Configuring Your Network for Remote Access
Now that your Raspberry Pi is up and running, it’s time to configure your network for remote access. This involves setting up port forwarding on your router and ensuring your Pi can communicate with the outside world.
Port forwarding is a technique that allows external devices to access services running on your local network. For example, if you’re running a web server on your Raspberry Pi, you’ll need to forward port 80 (HTTP) or port 443 (HTTPS) to your Pi’s IP address.
How to Set Up Port Forwarding
Here’s how you can set up port forwarding on your router:
- Step 1: Log in to your router’s admin interface using a web browser.
- Step 2: Navigate to the port forwarding section (usually found under advanced settings).
- Step 3: Add a new rule specifying the external port, internal IP address, and internal port.
- Step 4: Save your changes and test the connection using a tool like YouGetSignal.
Securing Your RemoteIoT Setup
Security should always be a top priority when setting up remote IoT devices. The last thing you want is for someone to hack into your home network and take control of your devices. Fortunately, there are several measures you can take to secure your Raspberry Pi and IoT setup.
Start by enabling SSH (Secure Shell) on your Pi. This allows you to remotely access your Pi’s terminal securely. You can also set up a firewall to block unauthorized access and use strong, unique passwords for all your devices.
Best Security Practices
Here are some best practices to keep your remote IoT setup secure:
- Use SSH: Enable SSH and consider using public key authentication for added security.
- Firewall: Install and configure a firewall like UFW (Uncomplicated Firewall).
- Regular Updates: Keep your Pi’s software up to date to protect against vulnerabilities.
- Strong Passwords: Use complex passwords and avoid using default credentials.
Tools and Software You Need
There are several tools and software you can use to enhance your remote IoT setup with Raspberry Pi. Some popular options include:
- Node-RED: A visual programming tool for wiring together hardware devices, APIs, and online services.
- Home Assistant: An open-source home automation platform that works seamlessly with Raspberry Pi.
- MQTT: A lightweight messaging protocol ideal for IoT communication.
These tools can help you automate tasks, monitor device status, and create custom dashboards for managing your IoT devices.
Common Issues and Troubleshooting
Even with the best setup, things can go wrong. Here are some common issues you might encounter and how to fix them:
- Connection Problems: Check your network settings and ensure port forwarding is configured correctly.
- Security Breaches: Regularly update your software and use strong authentication methods.
- Device Compatibility: Ensure all your IoT devices are compatible with your Raspberry Pi setup.
Real-World Applications of RemoteIoT
Remote IoT setups have countless real-world applications. From smart home automation to industrial monitoring, the possibilities are endless. Here are a few examples:
- Home Security: Monitor and control security cameras and door locks remotely.
- Environmental Monitoring: Track temperature, humidity, and air quality in your home or office.
- Smart Agriculture: Automate irrigation systems and monitor soil conditions.
Best Practices for Managing IoT Devices
To ensure your remote IoT setup runs smoothly, follow these best practices:
- Regular Maintenance: Keep your software and firmware up to date.
- Documentation: Maintain detailed records of your setup and configurations.
- Testing: Regularly test your devices to ensure they’re functioning as expected.
Conclusion: Take Control of Your IoT Devices
Setting up remote IoT devices behind a router using Raspberry Pi is a powerful way to take control of your smart home or office. With the right tools, knowledge, and security measures, you can create a robust and reliable system that works for you. So, what are you waiting for? Grab your Raspberry Pi and start building your dream IoT setup today!
Don’t forget to leave a comment below sharing your experiences or asking any questions you might have. And if you found this article helpful, feel free to share it with your friends and colleagues. Happy tinkering!