Hey there, tech enthusiasts! Are you ready to dive into the world of remote access and IoT? If you're looking to harness the full potential of your Raspberry Pi through the RemoteIoT Web SSH Raspberry Pi setup, you're in the right place. This article is packed with tips, tricks, and all the info you need to get started. So buckle up and let's explore how you can make the most out of this incredible tech combo!
RemoteIoT Web SSH Raspberry Pi is not just a phrase; it's a game-changer for anyone interested in remote computing and IoT projects. Whether you're a hobbyist, a student, or a professional developer, understanding how to set up and manage your Raspberry Pi remotely can save you time and effort. This setup allows you to access your device from anywhere in the world, giving you the flexibility to work on your projects no matter where you are.
Before we dive deeper, let's set the stage. This article will cover everything from the basics of SSH and Raspberry Pi to advanced configurations and troubleshooting tips. By the end of this read, you'll have a solid grasp of how RemoteIoT Web SSH Raspberry Pi works and how you can implement it in your own projects. Sound good? Let's get started!
Read also:Condom Calculator Your Ultimate Guide To Finding The Perfect Fit
Table of Contents
- Introduction to Raspberry Pi
- Understanding SSH
- RemoteIoT Basics
- Setting Up SSH on Raspberry Pi
- Connecting Remotely
- Web-Based SSH Clients
- Securing Your Connection
- Troubleshooting Tips
- Real-World Applications
- Conclusion and Next Steps
Introduction to Raspberry Pi
Let's start with the star of the show: the Raspberry Pi. This tiny yet powerful computer has taken the tech world by storm. It's affordable, versatile, and perfect for a wide range of projects, from home automation to robotics. But what makes the Raspberry Pi truly special is its ability to connect to the internet and interact with other devices, making it a cornerstone of IoT setups.
Why Raspberry Pi?
Here are a few reasons why Raspberry Pi is a favorite among tech enthusiasts:
- Compact and energy-efficient design
- Supports a wide range of operating systems
- Highly customizable and expandable
- Perfect for both beginners and advanced users
Understanding SSH
Now that we've got the basics of Raspberry Pi down, let's talk about SSH. SSH, or Secure Shell, is a protocol that allows you to securely connect to and manage your Raspberry Pi remotely. It's like having a virtual keyboard and monitor for your device, but instead of being physically connected, you can access it from anywhere with an internet connection.
Benefits of SSH
SSH offers several advantages, including:
- Encrypted communication for secure data transfer
- Remote access to your device's command-line interface
- Ability to automate tasks and scripts
RemoteIoT Basics
When we talk about RemoteIoT Web SSH Raspberry Pi, we're referring to the integration of IoT principles with SSH capabilities. This setup allows you to monitor and control IoT devices remotely, making it ideal for applications like smart home systems, environmental monitoring, and more.
Key Components of RemoteIoT
To get started with RemoteIoT, you'll need:
Read also:Mmsdose Com Your Ultimate Guide To Trending Online Content
- A Raspberry Pi with SSH enabled
- An internet connection
- A web-based SSH client or terminal access
Setting Up SSH on Raspberry Pi
Setting up SSH on your Raspberry Pi is a straightforward process. Follow these steps to get your device ready for remote access:
Step 1: Enable SSH
First, you'll need to enable SSH on your Raspberry Pi. You can do this through the Raspberry Pi Configuration tool or by editing the config file directly.
Step 2: Find Your IP Address
Once SSH is enabled, you'll need to find your Raspberry Pi's IP address. This will allow you to connect to it from another device.
Step 3: Test the Connection
Use a terminal or SSH client to connect to your Raspberry Pi using its IP address. If everything is set up correctly, you should be able to access the command line remotely.
Connecting Remotely
Now that SSH is up and running, it's time to connect to your Raspberry Pi from another device. This can be done using a variety of tools, including PuTTY for Windows or the built-in terminal on macOS and Linux.
Tips for a Smooth Connection
Here are a few tips to ensure a seamless remote connection:
- Use a strong and stable internet connection
- Keep your Raspberry Pi's software up to date
- Set up a static IP address if possible
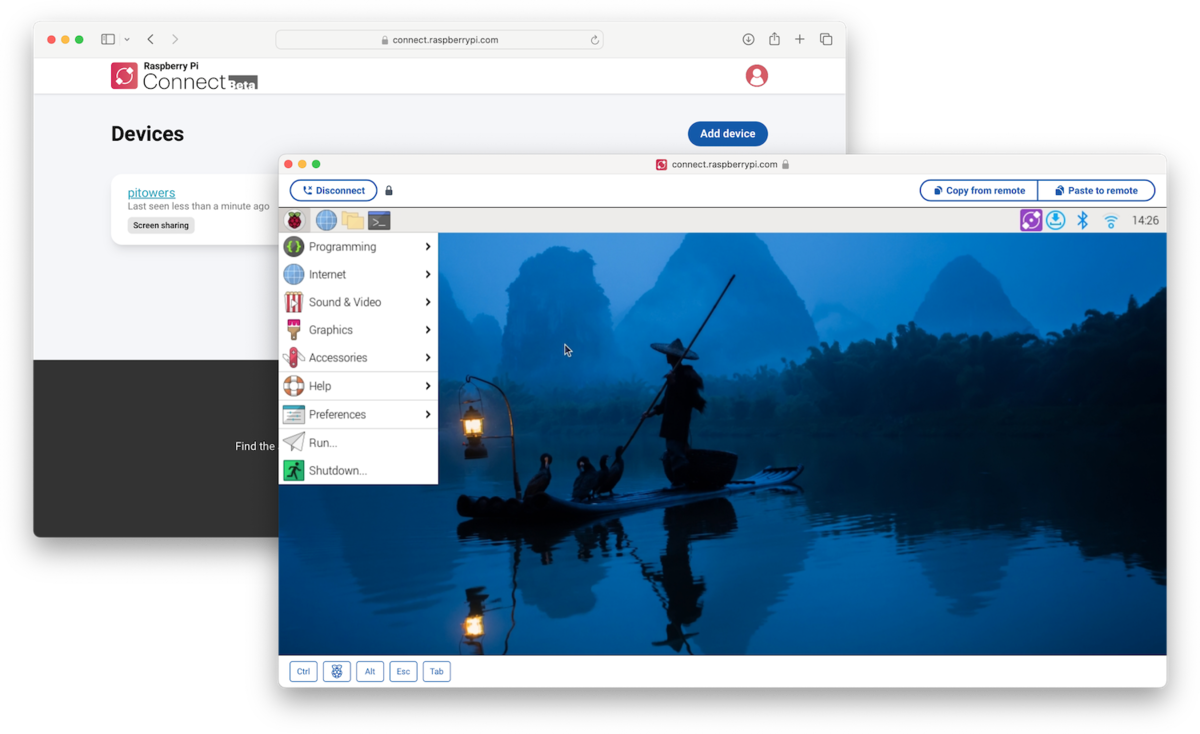
Web-Based SSH Clients
If you prefer a more user-friendly interface, there are several web-based SSH clients available. These tools allow you to access your Raspberry Pi through a browser, eliminating the need for additional software.
Popular Web-Based SSH Clients
- Termius
- WebSSH
- Gate One
Securing Your Connection
Security is paramount when it comes to remote access. Here are some best practices to keep your RemoteIoT Web SSH Raspberry Pi setup secure:
Use Strong Passwords
Make sure your Raspberry Pi's login credentials are strong and unique. Avoid using default passwords like "raspberry" or "password."
Enable Two-Factor Authentication
Adding an extra layer of security with two-factor authentication can help protect your device from unauthorized access.
Regularly Update Your Software
Keep your Raspberry Pi's operating system and applications up to date to protect against vulnerabilities.
Troubleshooting Tips
Even with the best setup, issues can arise. Here are a few common problems and how to fix them:
Connection Issues
If you're having trouble connecting to your Raspberry Pi, check the following:
- Your internet connection
- Your IP address and network settings
- Firewall or router configurations
Real-World Applications
The possibilities with RemoteIoT Web SSH Raspberry Pi are endless. Here are a few real-world applications to inspire your next project:
Smart Home Automation
Use your Raspberry Pi to control smart home devices like lights, thermostats, and security systems from anywhere.
Environmental Monitoring
Set up sensors to monitor temperature, humidity, and air quality, and access the data remotely through your Raspberry Pi.
Remote Server Management
Use your Raspberry Pi as a lightweight server for hosting websites or running applications, all managed remotely via SSH.
Conclusion and Next Steps
That's a wrap on our deep dive into RemoteIoT Web SSH Raspberry Pi! By now, you should have a solid understanding of how to set up and manage your Raspberry Pi remotely. Remember, the key to success is practice and experimentation. Don't be afraid to try new things and push the limits of what your device can do.
So, what's next? Here are a few suggestions:
- Start a new IoT project using your Raspberry Pi
- Explore advanced SSH configurations and scripts
- Share your experiences and tips with the community
Thanks for reading, and happy tinkering! If you found this article helpful, feel free to leave a comment or share it with your friends. Until next time, keep building and exploring!